How to Build an App Like MyQuest (USA): Features, Cost, Roadmap


Create engaging, high-performance mobile applications tailored to your business needs. We craft future-ready apps that offer smooth user experiences on all devices.
Build robust and scalable websites and CMS platforms that help you manage content effortlessly. Our development ensures a seamless digital presence.
Launch secure, feature-rich online stores with intuitive shopping experiences. We build tailored eCommerce platforms designed for growth.
Design captivating games with immersive gameplay and stunning graphics. From concept to launch, we build engaging experiences that players love.
Enhance your customer relationships with customized Salesforce implementations. Drive growth and efficiency with smarter CRM solutions.
Harness artificial intelligence and machine learning to automate workflows and gain actionable insights. Our AI transforms data into smart decisions.
Accelerate your software delivery lifecycle with continuous integration, delivery, and infrastructure automation to boost efficiency.
Hire app developers ready to turn your ideas into sleek, high-performing mobile apps for any platform.
Bring in frontend pros who craft smooth, beautiful, and user-friendly interfaces that your visitors will love.
Get backend developers who build fast, secure, and reliable systems to keep everything running behind the scenes.
Hire eCommerce developers who build secure, scalable online stores designed to offer seamless shopping and grow your sales.
Get dedicated developers committed to your projects, delivering consistent quality and speed as an extension of your team.
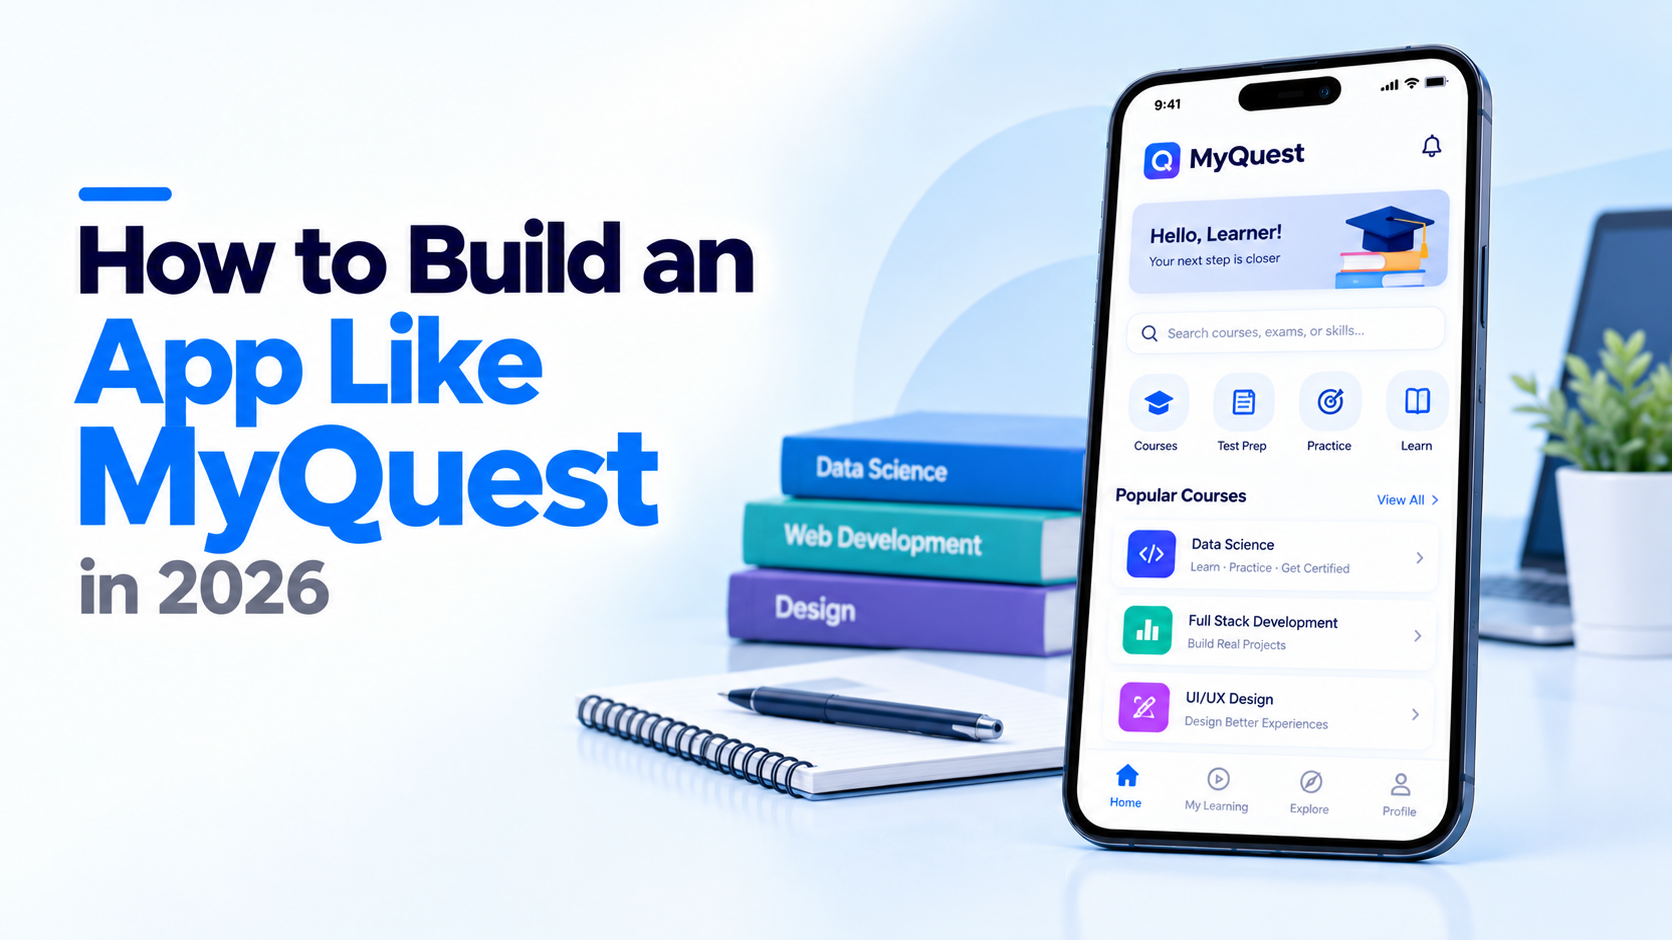
Here is a moment almost every American adult has lived through.
A notification arrives. Your lab results are ready. You open them. You see fourteen abbreviations, a column of numbers, and one value highlighted in red that you have never heard of. Your doctor’s next opening is in nine days.
That gap between data and understanding is the product opportunity. Anyone planning to build an app like MyQuest should start there, not at the scheduling calendar.
To build an app like MyQuest, you need appointment scheduling at collection sites, digital check-in, longitudinal result viewing with trend charts, family or caregiver account management, bill payment, and secure sharing with providers.
MyQuest is Quest Diagnostics’ patient-facing app, so its value comes from turning a one-off lab visit into an ongoing health record the patient controls.
The US direct-to-consumer laboratory testing market is set to rise from USD 1.34 billion in 2026 to around USD 2.92 billion by 2035 at a 9.03% CAGR (Precedence Research). Patients are increasingly buying their own tests, which changes who your app has to satisfy.
Scheduling is a solved problem. Dozens of products do it competently.
Result comprehension is not solved. That is where retention lives.
A lab result in isolation is a number. The same result next to four prior values, with a visible trend and a one-line explanation, becomes information a person can act on. Build that first and the rest of the app has a reason to exist.
This is the same insight that drives effective digital front door strategies in healthcare, where the entry point matters less than what happens after it.
Site finder with distance, hours, and real wait times. Appointment booking by test type, since draw duration varies. Digital check-in with queue position. Prep instructions pushed at the right time, meaning a fasting reminder the night before and not at booking. Insurance card capture through the camera with OCR.
This is the core. Each result needs a current value, reference range, historical trend, and plain-language context. Flag abnormal values clearly without alarming language. Allow filtering by biomarker so a patient tracking their A1C over three years sees one clean line. Let users annotate results with notes about medication changes or symptoms.
One-tap PDF export. Secure provider sharing. Appointment prep summaries that pull abnormal values into a short list for the next visit. Wearable context helps too, and thoughtful wearable device integration turns a quarterly lab panel into a continuous picture.
Caregiver and dependent profiles with proper consent handling. Minor access rules that shift at the age of majority by state. Elderly parent management, which is one of the most common and least supported use cases in this category.
Bill viewing with itemized test breakdown. Payment plans. Optional direct-to-consumer test ordering, which requires a physician review network in most states.
Most teams model around the report. Model around the biomarker instead. A single analyte like hemoglobin A1C should exist as one entity with values attached across time, regardless of which panel produced it or which lab ran it.
This makes trend views trivial later and avoids a painful migration at month ten. Normalize units and reference ranges at ingestion rather than display time. Decide now how you handle conflicting reference ranges across labs, because patients switch providers and the data has to stay coherent.
Results arrive as HL7 ORU messages, FHIR Observation resources, or flat files depending on the source. Build one ingestion pipeline with source-specific adapters feeding a single internal schema. Map everything to LOINC codes, since that is what makes cross-lab comparison possible at all.
Handle amended and corrected results explicitly, because they are common and silently overwriting a prior value is dangerous. Robust healthcare APIs make this layer far less brittle than a custom parser per partner would be.
Prototype the result screen and test it with people who have no clinical training. Watch where they hesitate. Most teams discover that reference ranges confuse more than they clarify, and that color alone is a poor signal.
Iterate until a first-time user can correctly identify which values need attention within fifteen seconds. Invest properly in UI/UX design here, since this screen carries the entire retention argument. A beautiful scheduling flow will not rescue an unreadable result page.
Now layer the transactional features. Scheduling needs appointment types mapped to draw duration and site capability, because not every location handles every specimen type. Check-in should reduce lobby time measurably or patients will skip it. Household profiles need careful consent architecture with separate audit trails per dependent.
State-specific rules on minor record access are genuinely complex, so encode them as configurable policy rather than hardcoded logic. Getting this wrong creates both compliance exposure and support load.
Complete a HIPAA risk assessment, penetration testing, and access control review before launch. Encrypt in transit and at rest, and log every PHI access event with user, timestamp, and purpose. Follow established healthcare data security best practices rather than inventing your own controls.
Then instrument the product: result view rate within 24 hours, repeat session rate at 90 days, share-to-provider rate, and check-in adoption. Launch with a limited site network so operational issues stay containable.
| Integration | Why it matters |
| LIS or lab network API | Source of all result data |
| FHIR R4 endpoints | Provider record exchange and result sharing |
| LOINC terminology service | Cross-lab biomarker comparison |
| Eligibility clearinghouse | Accurate cost estimates before the visit |
| Payment gateway | Bill payment and installment plans |
| Push and secure messaging | Result notifications without exposing PHI |
HIPAA applies the moment you handle identifiable results, and our guide on which healthcare apps must be HIPAA compliant clarifies where the line sits for consumer-facing products.
The 21st Century Cures Act means you cannot artificially delay result delivery to patients.
State rules govern sensitive results and adolescent record access, and they vary enough that a single national policy will not work.
If you offer direct-to-consumer tests, you need a physician review network, since most states require an order before a test can be run.
A focused MVP with scheduling, check-in, result viewing with trends, and bill payment takes five to eight months and runs $80,000 to $150,000.
Adding household profiles, provider sharing, wearable sync, and direct-to-consumer purchasing pushes it to nine to fourteen months and $170,000 to $300,000.
Much of the variance comes from how many result sources you normalize. Teams validating demand first often start with an MVP approach for healthcare startups and expand once retention proves out.
Most teams that want to build an app like MyQuest underestimate the result normalization layer and overestimate the scheduling layer. A partner who has shipped both will steer you correctly early.
EngineerBabu builds patient-facing healthtech products with HIPAA-ready architecture, FHIR and HL7 integration, and interfaces designed for non-clinical users.
If you are still comparing vendors, our list of questions to ask a healthcare app development company is a useful filter before any contract gets signed.
EngineerBabu is a technology development company building products across fintech, healthtech, and AI, from MVPs to scaled, production-ready platforms.
It holds a CMMI Level 5 rating, has worked with 4 unicorn clients, and has supported 200+ VC-funded products. The company is backed by Vijay Shekhar Sharma.
Founded by Mayank Pratap (Co-founder) · mayank@engineerbabu.com
A focused MVP with scheduling, check-in, results, and payments takes five to eight months. Adding family profiles, provider sharing, and direct-to-consumer ordering extends it to nine to fourteen months.
Longitudinal result viewing with trends and plain-language context. Scheduling is commoditized. Result comprehension is what brings patients back between tests.
Yes, if you want to compare results across different labs. LOINC mapping is what lets a cholesterol value from one lab line up correctly against another.
In most US states a physician order is required. Direct-to-consumer platforms solve this by contracting a physician network to review and authorize requests.
A focused MVP runs $80,000 to $150,000. A full platform with household profiles, wearable sync, and direct-to-consumer purchasing ranges from $170,000 to $300,000.